- Mi 19 Juni 2019
- Programming
- #programming, #discord, #python, #bot, #automation
1 Setup the bot
The first that needs to be done is to create a bot is to log in into the
discord page. If you have no account, create one. Then switch to the
discord developer page and create a new application: 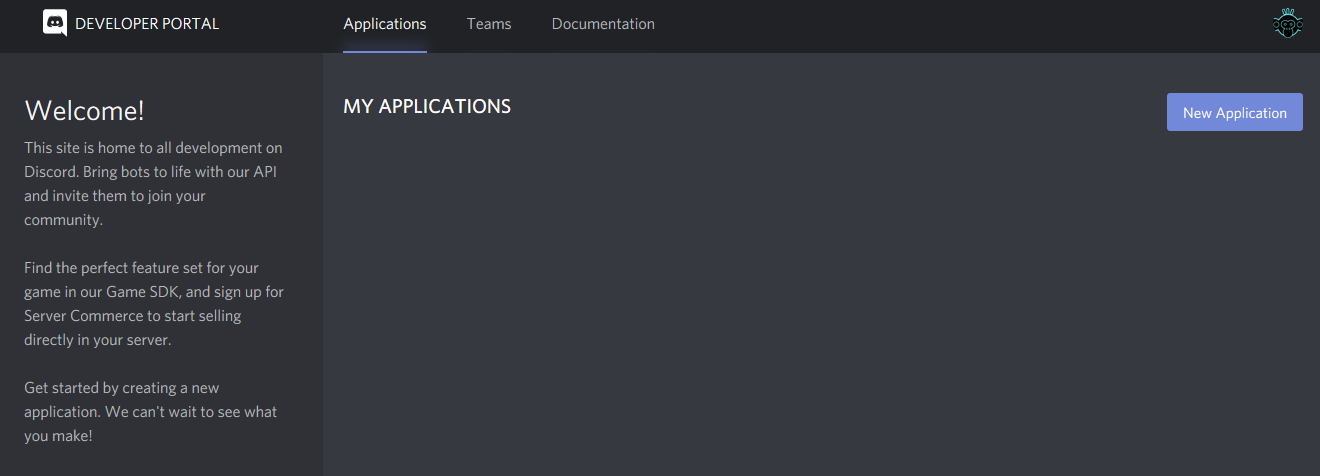 To get you running you simply need to enter a name for your application:
 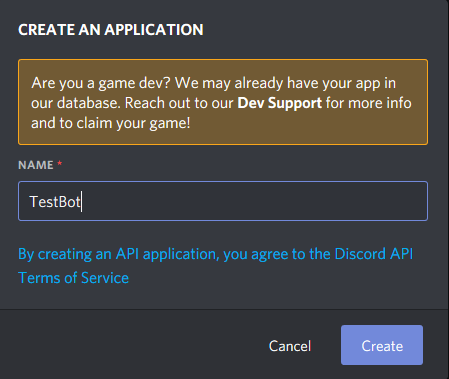 After
that's done, you need to change to your created application (simply click on it) and then to bot:
After
that's done, you need to change to your created application (simply click on it) and then to bot: 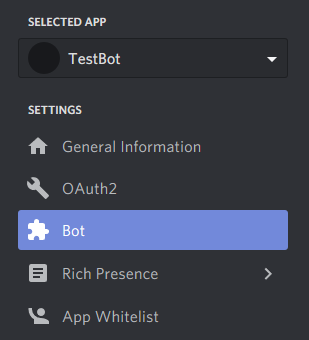 There you need to create a bot for your
application
(Discord will warn you that
this action is irreversible, but that's fine, we want this application to have a bot):
There you need to create a bot for your
application
(Discord will warn you that
this action is irreversible, but that's fine, we want this application to have a bot):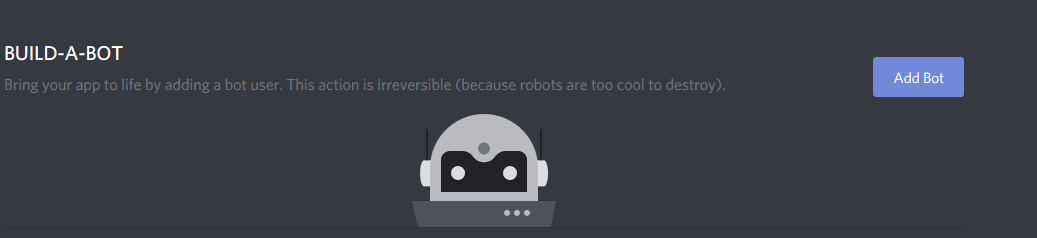 You can then choose a "profil" name for the
bot, which
will be displayed
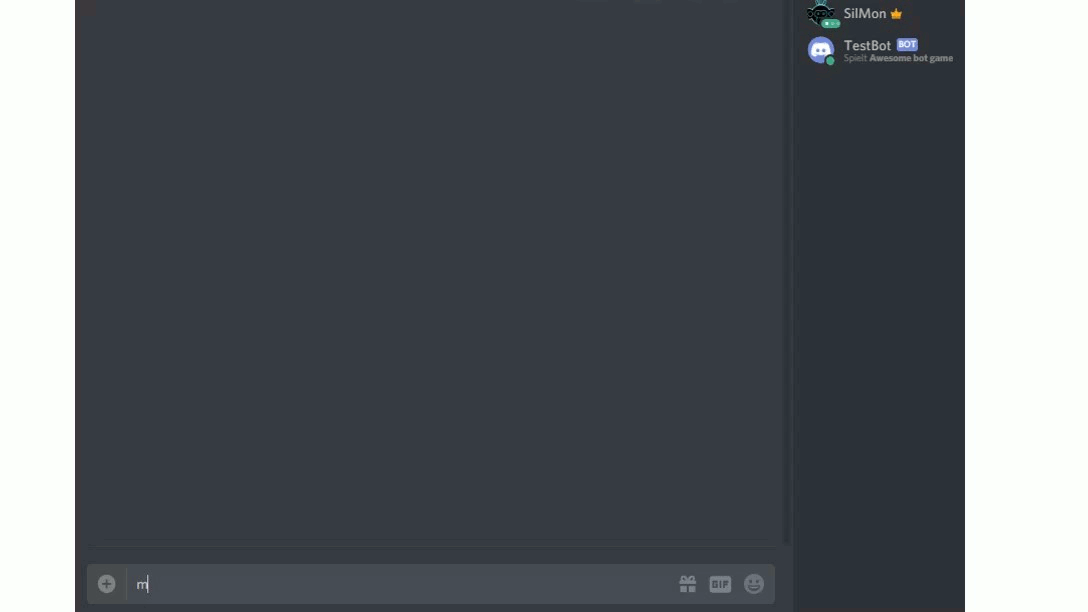
int the member list as well as an icon for the bot:
You can then choose a "profil" name for the
bot, which
will be displayed
int the member list as well as an icon for the bot: The
next thing we need is the authorization token, which allows to control the bots actions via the discord API:
The
next thing we need is the authorization token, which allows to control the bots actions via the discord API: Do not share this with anyone as it will allow them to control your bot!
2 Make the bot interactive
Because i am lazy and this is a block about programming, we will not control the bot directly via Discords REST API,
but rather use a prebuild python library (conveniently also named discord. Simply install it via pip and the fun can
begin:
 Then fire up your favorite Python IDE (or if you are daring a plain text editor) and begin typing. The first thing
we
need to do is to import the discord library and define the used client, which defines our connection to the discord
servers:
Then fire up your favorite Python IDE (or if you are daring a plain text editor) and begin typing. The first thing
we
need to do is to import the discord library and define the used client, which defines our connection to the discord
servers:
import discord
client = discord.Client()
After that we will override two very important functions, namely the
on_ready() and the on_message(message)
function. on_ready() functions as a constructor/initializer for the bot. Here you can do various things,
such as changing the "played game" of the bot via:
@client.event
async def on_ready():
    await client.change_presence(activity=discord.Game(name="Awesome bot game"))
The
on_message(message) function serves as an event listener, which will be called every time a server
member
sends a message. This will allow us to interact with server members. Imagine we would want to add a "thumbs up" to every
new message that occurs on the server.
This, of course, would be really annoying behaviour, but since people seem to crave for likes, this may be what you want
😉.
@client.event
async def on_message(message):
    # Checks if the message was written by the bot. If so, abort
    if message.author == client.user:
        return
    # Add a thumbs up to the new message
    await message.add_reaction("👍")
To make the bot script actually runnable, we need to call the run method with the token of our bot:
client.run("NTkwOTUwODQ0NTM5NjAwOTA5.XQqZKw.MCwgCKXPWtzagw2BMVHsLv1PISU")The only thing left to do is to run the script with Python.
| Function | Called when | Parameters |
|---|---|---|
| on_typing | someone is typing | channel - The channel the typing occurs on user - The typing user when - When the typing started as a naive datetime in UTC |
| on_message_delete | someone deletes a message | message - The deleted message |
| on_message_edit | someone edits a message | before - The message before editing after - The message after editing |
| on_reaction_add | a reaction is added to a message | reaction- The added reaction message - The message the reaction was added to |
| on_reaction_remove | a reaction was removed from a message | reaction - The removed reaction message - The message the reaction was removed from |
| on_member_join | a user joins the server | member - The member that is joining the server |
| on_member_leave | a user leaves the server | member - The member that is leaving the server |
| on_user_update | a user updates his/her avatar/username/discriminator etc. | before - The status before the edit after - The status after the edit |
3 Add the bot to a server
To actually add the bot to the server, we first need to create an invite link people can use. To do so, we change to the OATH2 tab: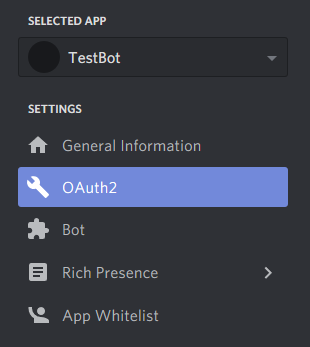 There, we generate the link by selecting bot under the scopes tab and copy the generated link. Because our bot
should be able to add reactions to messages, we need to set the permissions integer to 64.
There, we generate the link by selecting bot under the scopes tab and copy the generated link. Because our bot
should be able to add reactions to messages, we need to set the permissions integer to 64.
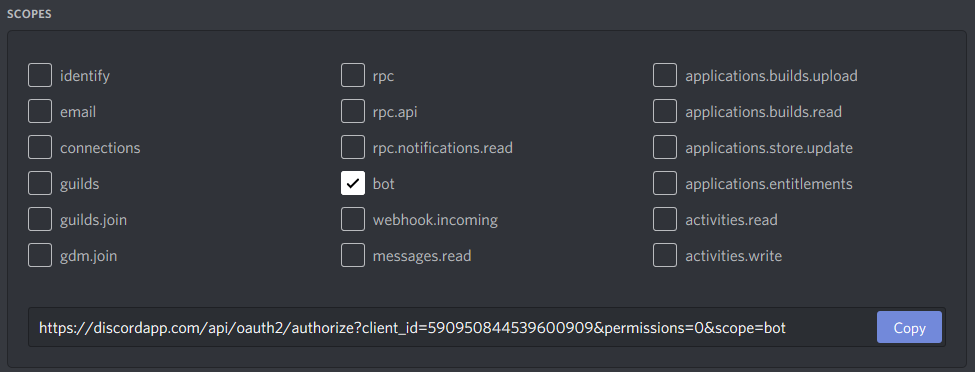 Note: The permission integer can be calculated under Bot/Bot Permissions
Then the link can be simply used to invite the bot to a server you have admin rights:
https://discordapp.com/api/oauth2/authorize?client_id=590950844539600909&permissions;=64&scope;=bot
4 Enjoy 😊